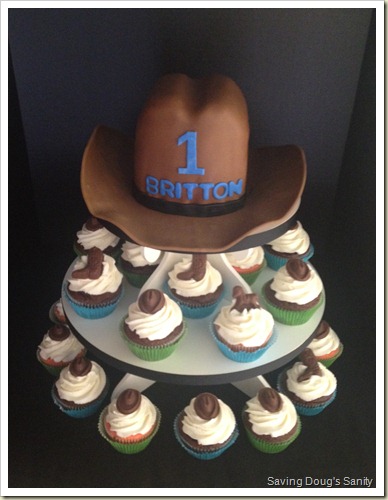
I made the base of the cowboy hat ahead of time using fondant and gum paste so it would dry and hold it’s shape. I didn’t use a pattern for this I just looked at lots of cowboy hat photos and made it up as I went along. I decided I would use 6” round pans for the hat part so I placed one on a large sheet of parchment paper and drew a large oval around it. I rolled out the fondant/gum paste and trimmed to match the oval, I then placed it on a large cooling rack to allow air to circulate underneath and used a few small kitchen towels rolled up underneath the edges to create the curve. Once it had dried a few days I turned it over to make sure the bottom was dry as well. It took about a week for me to feel comfortable moving it.
For the top of the hat I stacked 6” rounds and carved out the shape at the top and covered with fondant. Once I placed the cake on the base, I just smiled. It looked so cool. A small band of black around the base and some lettering and it was done!
The cupcakes were strawberry and chocolate with raspberry filling and a 1M vanilla buttercream swirl. Each cupcake had a chocolate topper of either a cowboy hat, cowboy boot or rocking horse.
The stand is from The Cupcake Tower and it’s one of my new favorite displays for cupcakes!
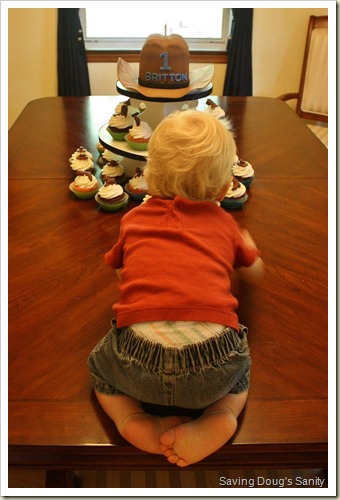
This was Britton headed for cupcakes…


No comments:
Post a Comment